Once I said that the purpose of simplicity is to hide the complexity and that’s why I love the idea of Amazon IoT Dash Button. But I also like is simplicity of Azure Logic Apps. So how could we connect both worlds?
Create Azure Logic App
Before we create AWS Lambda Function and connect the button to the internet, we should create some Logic App with REST API trigger endpoint. AWS Button is sending a very simple JSON to this endpoint:
{
“serialNumber”: “G030”,
“batteryVoltage”: “1747mV”,
“clickType”: “LONG”
}
There is a button serial number, battery and how often or long button was pressed. There can be SINGLE, DOUBLE or LONG click.
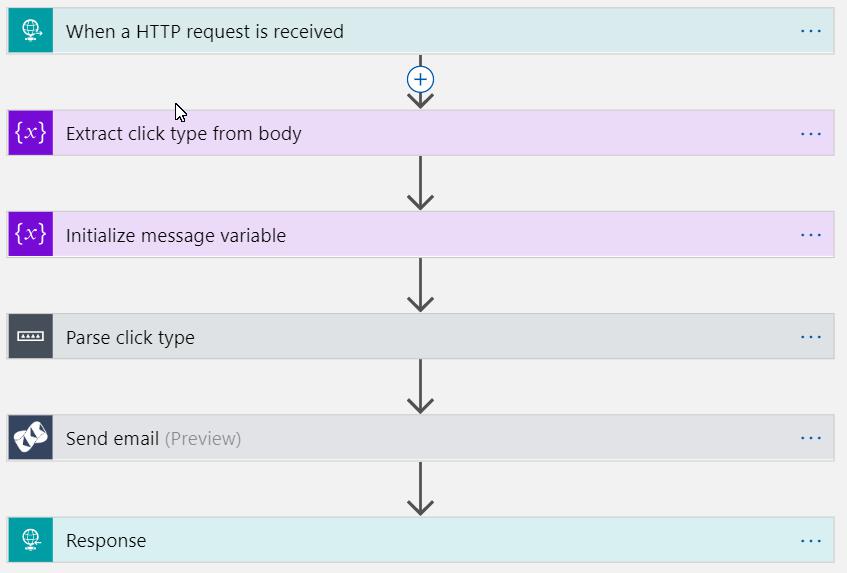
In this example I created Logic App which is sending different messages over SendGrid, depend on how long the click was.
{
    "$connections": {
        "value": {
            "sendgrid": {
                "connectionId": "/subscriptions/a940cd75-3428-40e7-8099-a3b04a50c719/resourceGroups/iot_dash_button_sandcastle-dev-we/providers/Microsoft.Web/connections/sendgrid",
                "connectionName": "sendgrid",
                "id": "/subscriptions/a940cd75-3428-40e7-8099-a3b04a50c719/providers/Microsoft.Web/locations/westeurope/managedApis/sendgrid"
            }
        }
    },
    "definition": {
        "$schema": "https://schema.management.azure.com/providers/Microsoft.Logic/schemas/2016-06-01/workflowdefinition.json#",
        "actions": {
            "Extract_click_type_from_body": {
                "inputs": {
                    "variables": [
                        {
                            "name": "ClickType",
                            "type": "String",
                            "value": "@triggerBody()['clickType']"
                        }
                    ]
                },
                "runAfter": {},
                "type": "InitializeVariable"
            },
            "Initialize_message_variable": {
                "inputs": {
                    "variables": [
                        {
                            "name": "Message",
                            "type": "String"
                        }
                    ]
                },
                "runAfter": {
                    "Extract_click_type_from_body": [
                        "Succeeded"
                    ]
                },
                "type": "InitializeVariable"
            },
            "Parse_click_type": {
                "cases": {
                    "Double_click_type": {
                        "actions": {
                            "Set_variable_2": {
                                "inputs": {
                                    "name": "Message",
                                    "value": "Gotta double click -- Your Button"
                                },
                                "runAfter": {},
                                "type": "SetVariable"
                            }
                        },
                        "case": "DOUBLE"
                    },
                    "Long_click_type": {
                        "actions": {
                            "Set_variable_3": {
                                "inputs": {
                                    "name": "Message",
                                    "value": "Gotta long click -- Your Button"
                                },
                                "runAfter": {},
                                "type": "SetVariable"
                            }
                        },
                        "case": "LONG"
                    },
                    "Single_click_type": {
                        "actions": {
                            "Set_variable": {
                                "inputs": {
                                    "name": "Message",
                                    "value": "Gotte single click -- Your Button"
                                },
                                "runAfter": {},
                                "type": "SetVariable"
                            }
                        },
                        "case": "SINGLE"
                    }
                },
                "default": {
                    "actions": {
                        "Unknown_click_type": {
                            "inputs": {
                                "body": {
                                    "errorMessage": "'@{variables('ClickType')}' is not known click type."
                                },
                                "statusCode": 400
                            },
                            "kind": "Http",
                            "runAfter": {},
                            "type": "Response"
                        }
                    }
                },
                "expression": "@variables('ClickType')",
                "runAfter": {
                    "Initialize_message_variable": [
                        "Succeeded"
                    ]
                },
                "type": "Switch"
            },
            "Response": {
                "inputs": {
                    "body": "@variables('Message')",
                    "statusCode": 200
                },
                "runAfter": {
                    "Send_email": [
                        "Succeeded"
                    ]
                },
                "type": "Response"
            },
            "Send_email": {
                "inputs": {
                    "body": {
                        "from": "no-reply@example.com",
                        "ishtml": true,
                        "subject": "Message from your button",
                        "text": "@variables('Message')",
                        "to": "john.smith@example.com"
                    },
                    "host": {
                        "connection": {
                            "name": "@parameters('$connections')['sendgrid']['connectionId']"
                        }
                    },
                    "method": "post",
                    "path": "/mail/send"
                },
                "runAfter": {
                    "Parse_click_type": [
                        "Succeeded"
                    ]
                },
                "type": "ApiConnection"
            }
        },
        "contentVersion": "1.0.0.0",
        "outputs": {},
        "parameters": {
            "$connections": {
                "defaultValue": {},
                "type": "Object"
            }
        },
        "triggers": {
            "request": {
                "inputs": {
                    "schema": {}
                },
                "kind": "Http",
                "type": "Request"
            }
        }
    }
}
Create AWS Lambda Function
AWS Lambda Functions is a serverless compute service similar to Azure Functions. To be able to develop in Visual Studio you need to download AWS Toolkit for Visual Studio 2017. Then you can create a new function project.

AWS Lambda is currently supporting the latest .NET Core Framework in version 2.1. As first we create simple function to redirect incoming request to different url.
using System.Threading.Tasks;
using Amazon.Lambda.Core;
using System.Net.Http;
using System.Text;
using Newtonsoft.Json.Linq;

// Assembly attribute to enable the Lambda function's JSON input to be converted into a .NET class.
[assembly: LambdaSerializer(typeof(Amazon.Lambda.Serialization.Json.JsonSerializer))]

namespace ForwardMessage
{
    public class Message
    {
        readonly string _forwardToUrl;

        public Message()
        {
            _forwardToUrl = Environment.GetEnvironmentVariable("ForwardToUrl");
        }

        public async Task Forward(JObject input, ILambdaContext context)
        {
            HttpClient httpClient = new HttpClient();
            var response = await httpClient.PostAsync(_forwardToUrl, new StringContent(input.ToString(), Encoding.UTF8, "application/json"));
            return response.ToString();
        }
    }
}
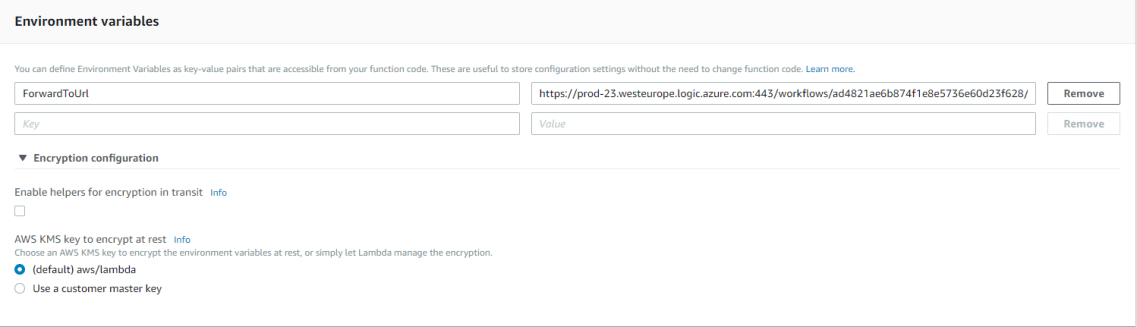
The code is easy and there isn’t any special thing about it. It just take the request (which comes later from AWS Button) and forward them to different url, which is a Azure Logic App REST API Endpoint, created before. Maybe one thing: You see I access the environment variable ForwardToUrl. In AWS can you define Environment Variables and it is the same like Application Settings in Azure Functions.
To publish the code to AWS Lambda environment you need connect Visual Studio with your AWS Account.

Under My Security Credentials can you create new Secret Access Key.

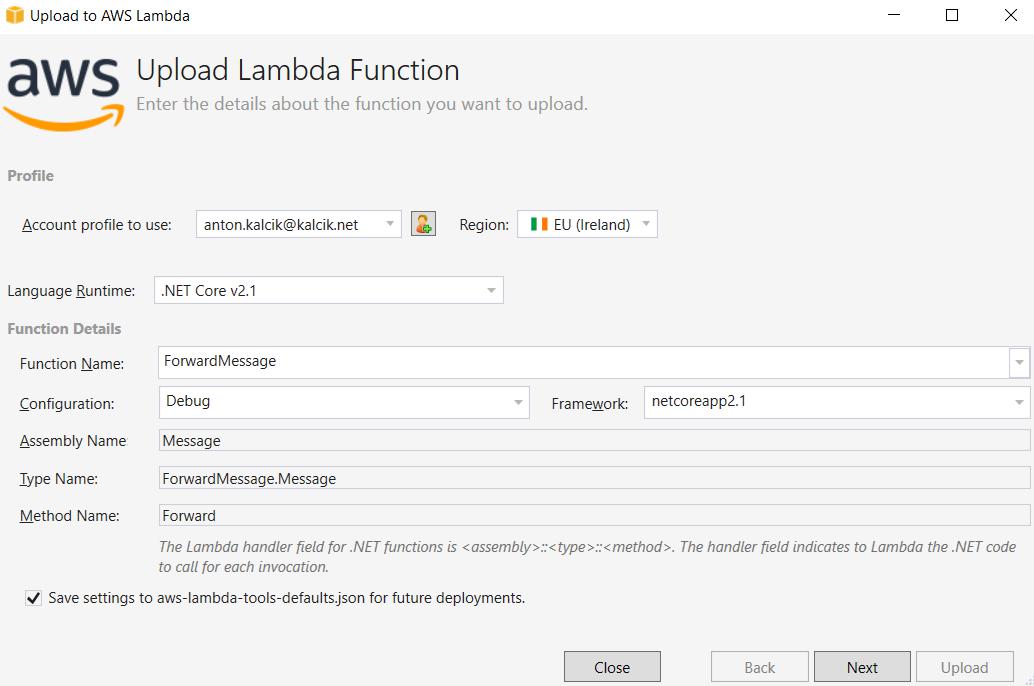
Than you can right-click on project and choose Publish to AWS Lambda after a new dialog opens.
Please consider to check if your button supports specific region where you upload the code.
Setup Amazon IoT Dash Button as an AWS Lambda trigger
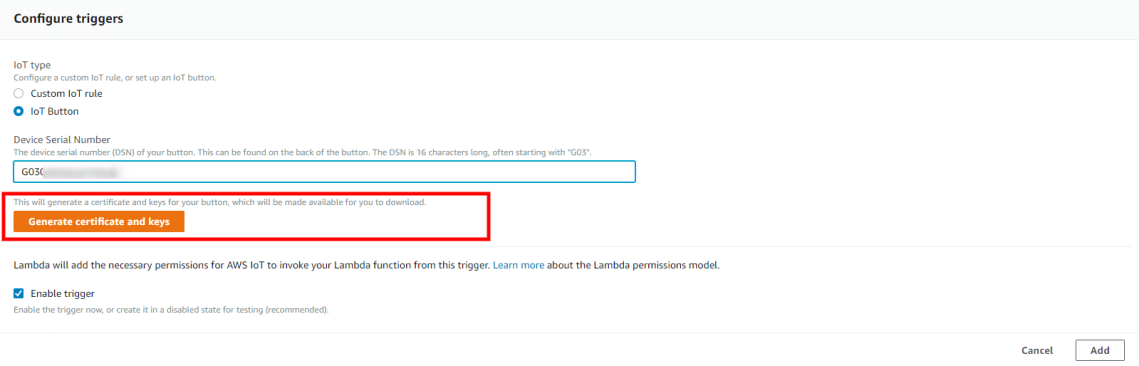
To setup the button as an AWS Lambda trigger you go to AWS Lambda Function in your browser and define a new trigger in function designer. The trigger you want to use is AWS IoT and as type you choose IoT Button. The Device Serial Number can you find on the back.

When you add button serial number you will be able to generate certificates and keys which you will need later when you configure the button.

You find here not only public certificate and your private key, which you should download immediately but also detailed step-by-step instruction how to configure your button.
Connect Amazon IoT Dash Button to Internet
Finally, to connect your button to the internet, just press the button for as long as it flashes blue. With this you will be able to connect to button’s own Wi-Fi.
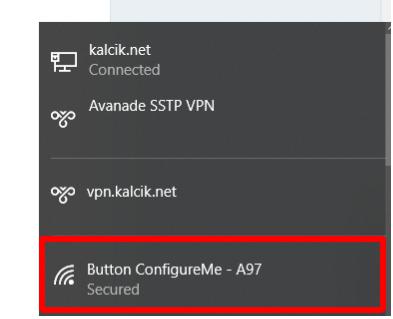
For the password use last 8 digits of button’s serial number. After that go to the http://192.168.200.1.
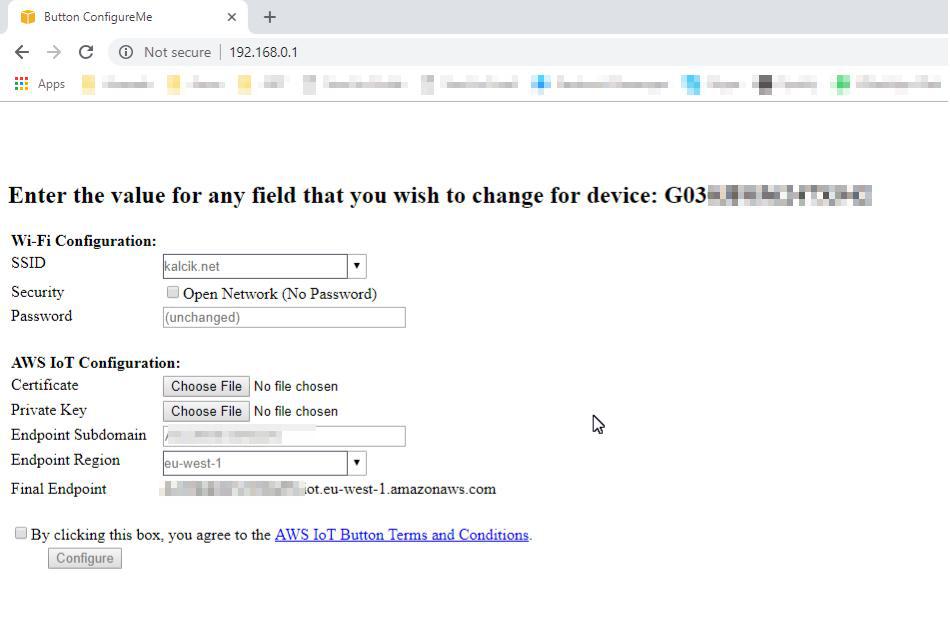
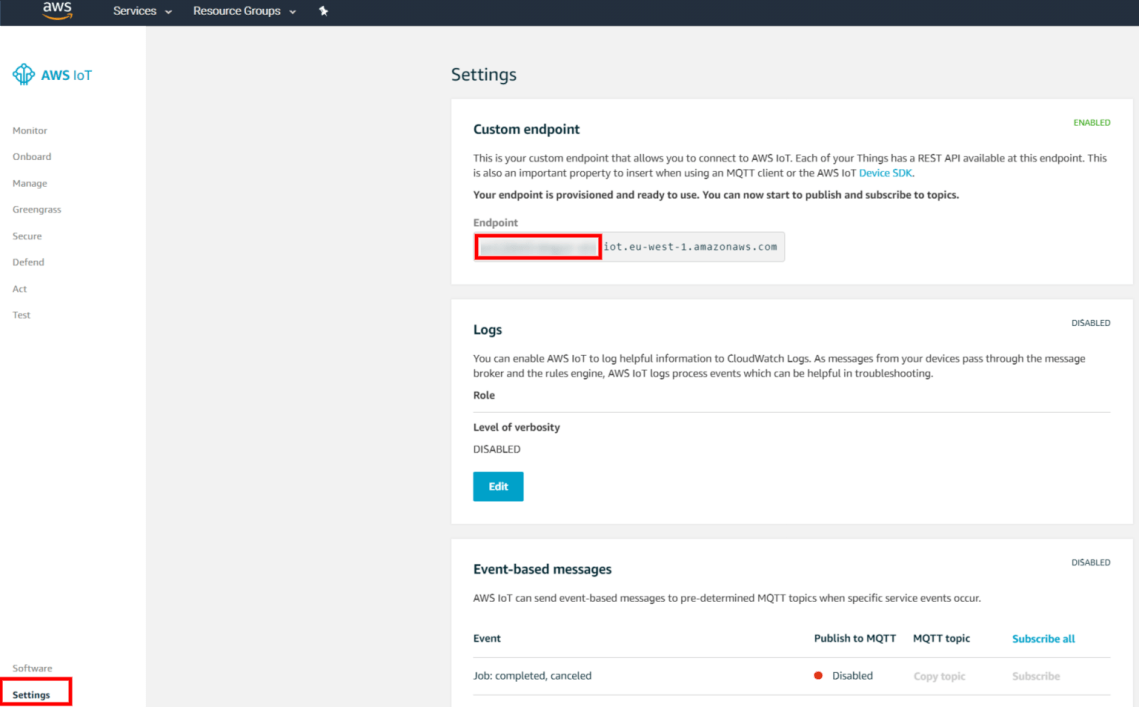
Connect the button to you Wi-Fi, upload the certificates and set the Endpoint Subdomain. You can find the Endpoint Subdomain in AWS IoT Console under Settings and Custom Endpoint. Be sure you have choosen right region.
Finally your button should be connected to the internet. When you push the button the white color (which means connecting) should turn to green (send). If you have a troubles look here what different LED color patterns mean.
